Knowledge
Practising active flying in autumn
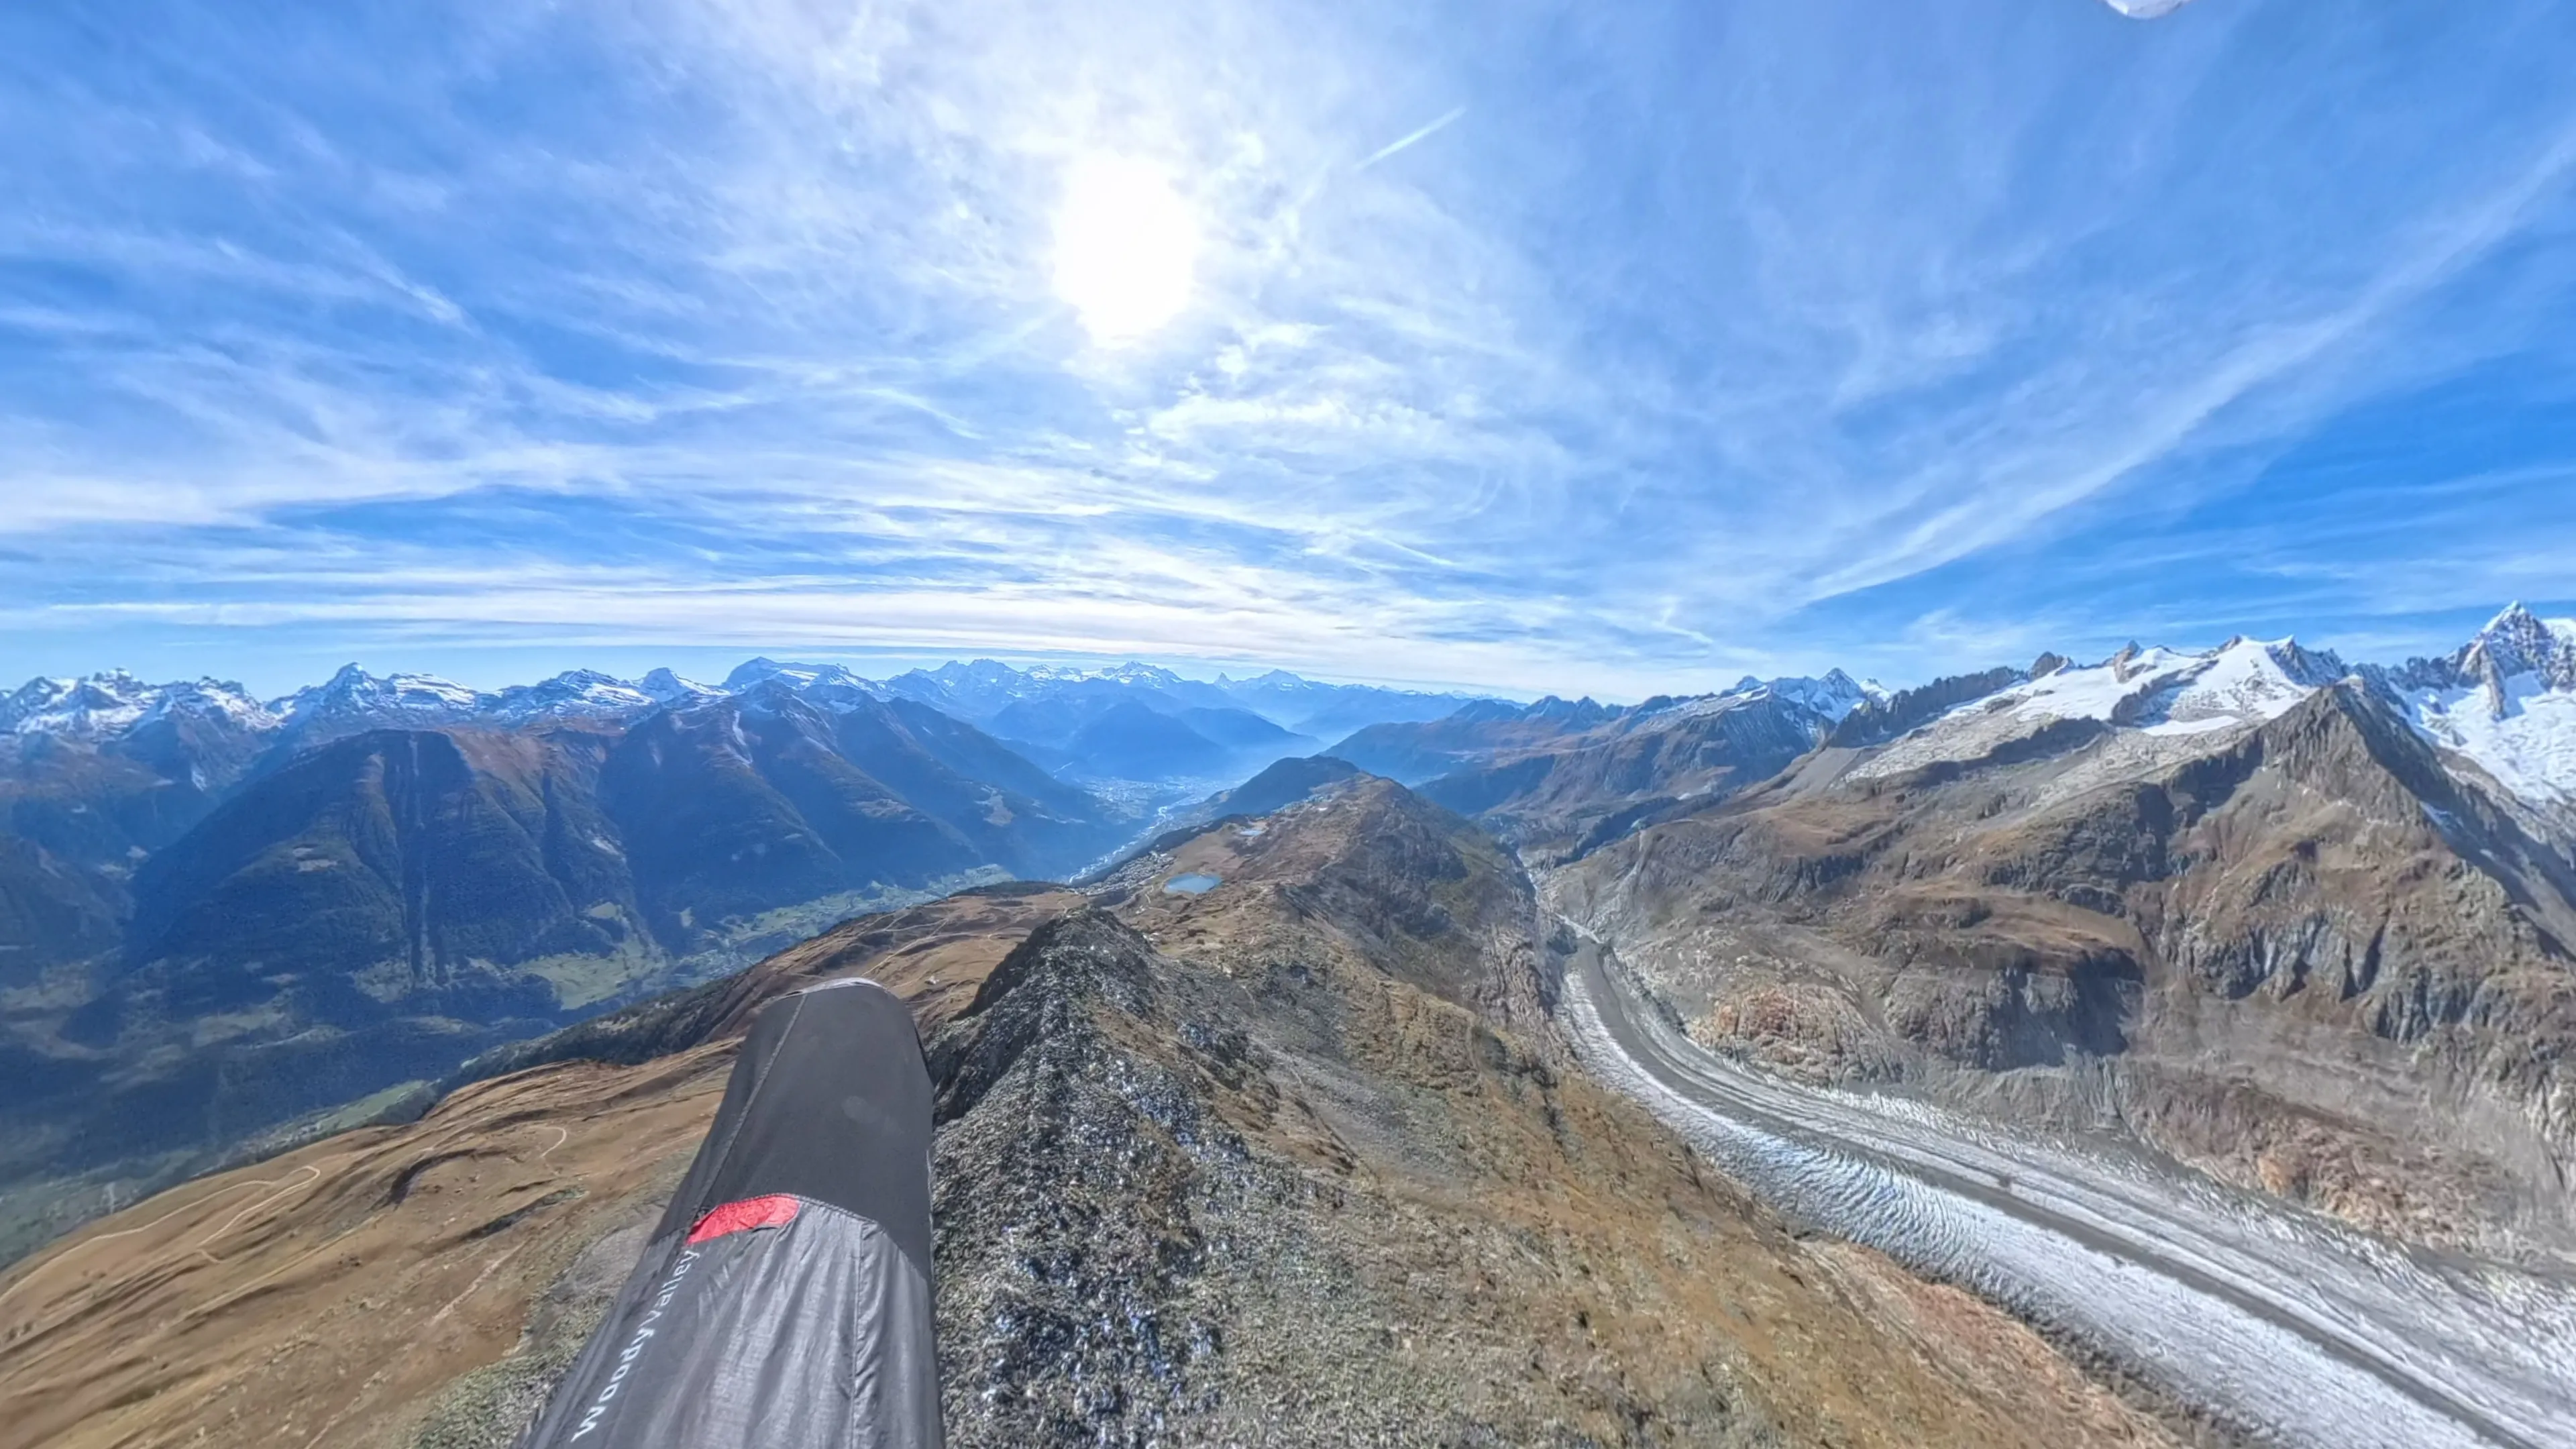
This article grew out of a client’s question: what do I do with the brakes when it gets wobbly? When circling in a thermal just as much as when flying straight.
Your guess
What do you do with the brakes in the air when it gets rougher and starts to “wobble”?
A client told me about his last thermal flight. The thermal was narrow, he kept falling into it and out again and couldn’t keep the wing steady above him. That cost him so much height that he sank out. Two from the group got up that day, nobody else did. This is exactly the piece this article is about: keeping the wing above you while the air moves it.
Why now
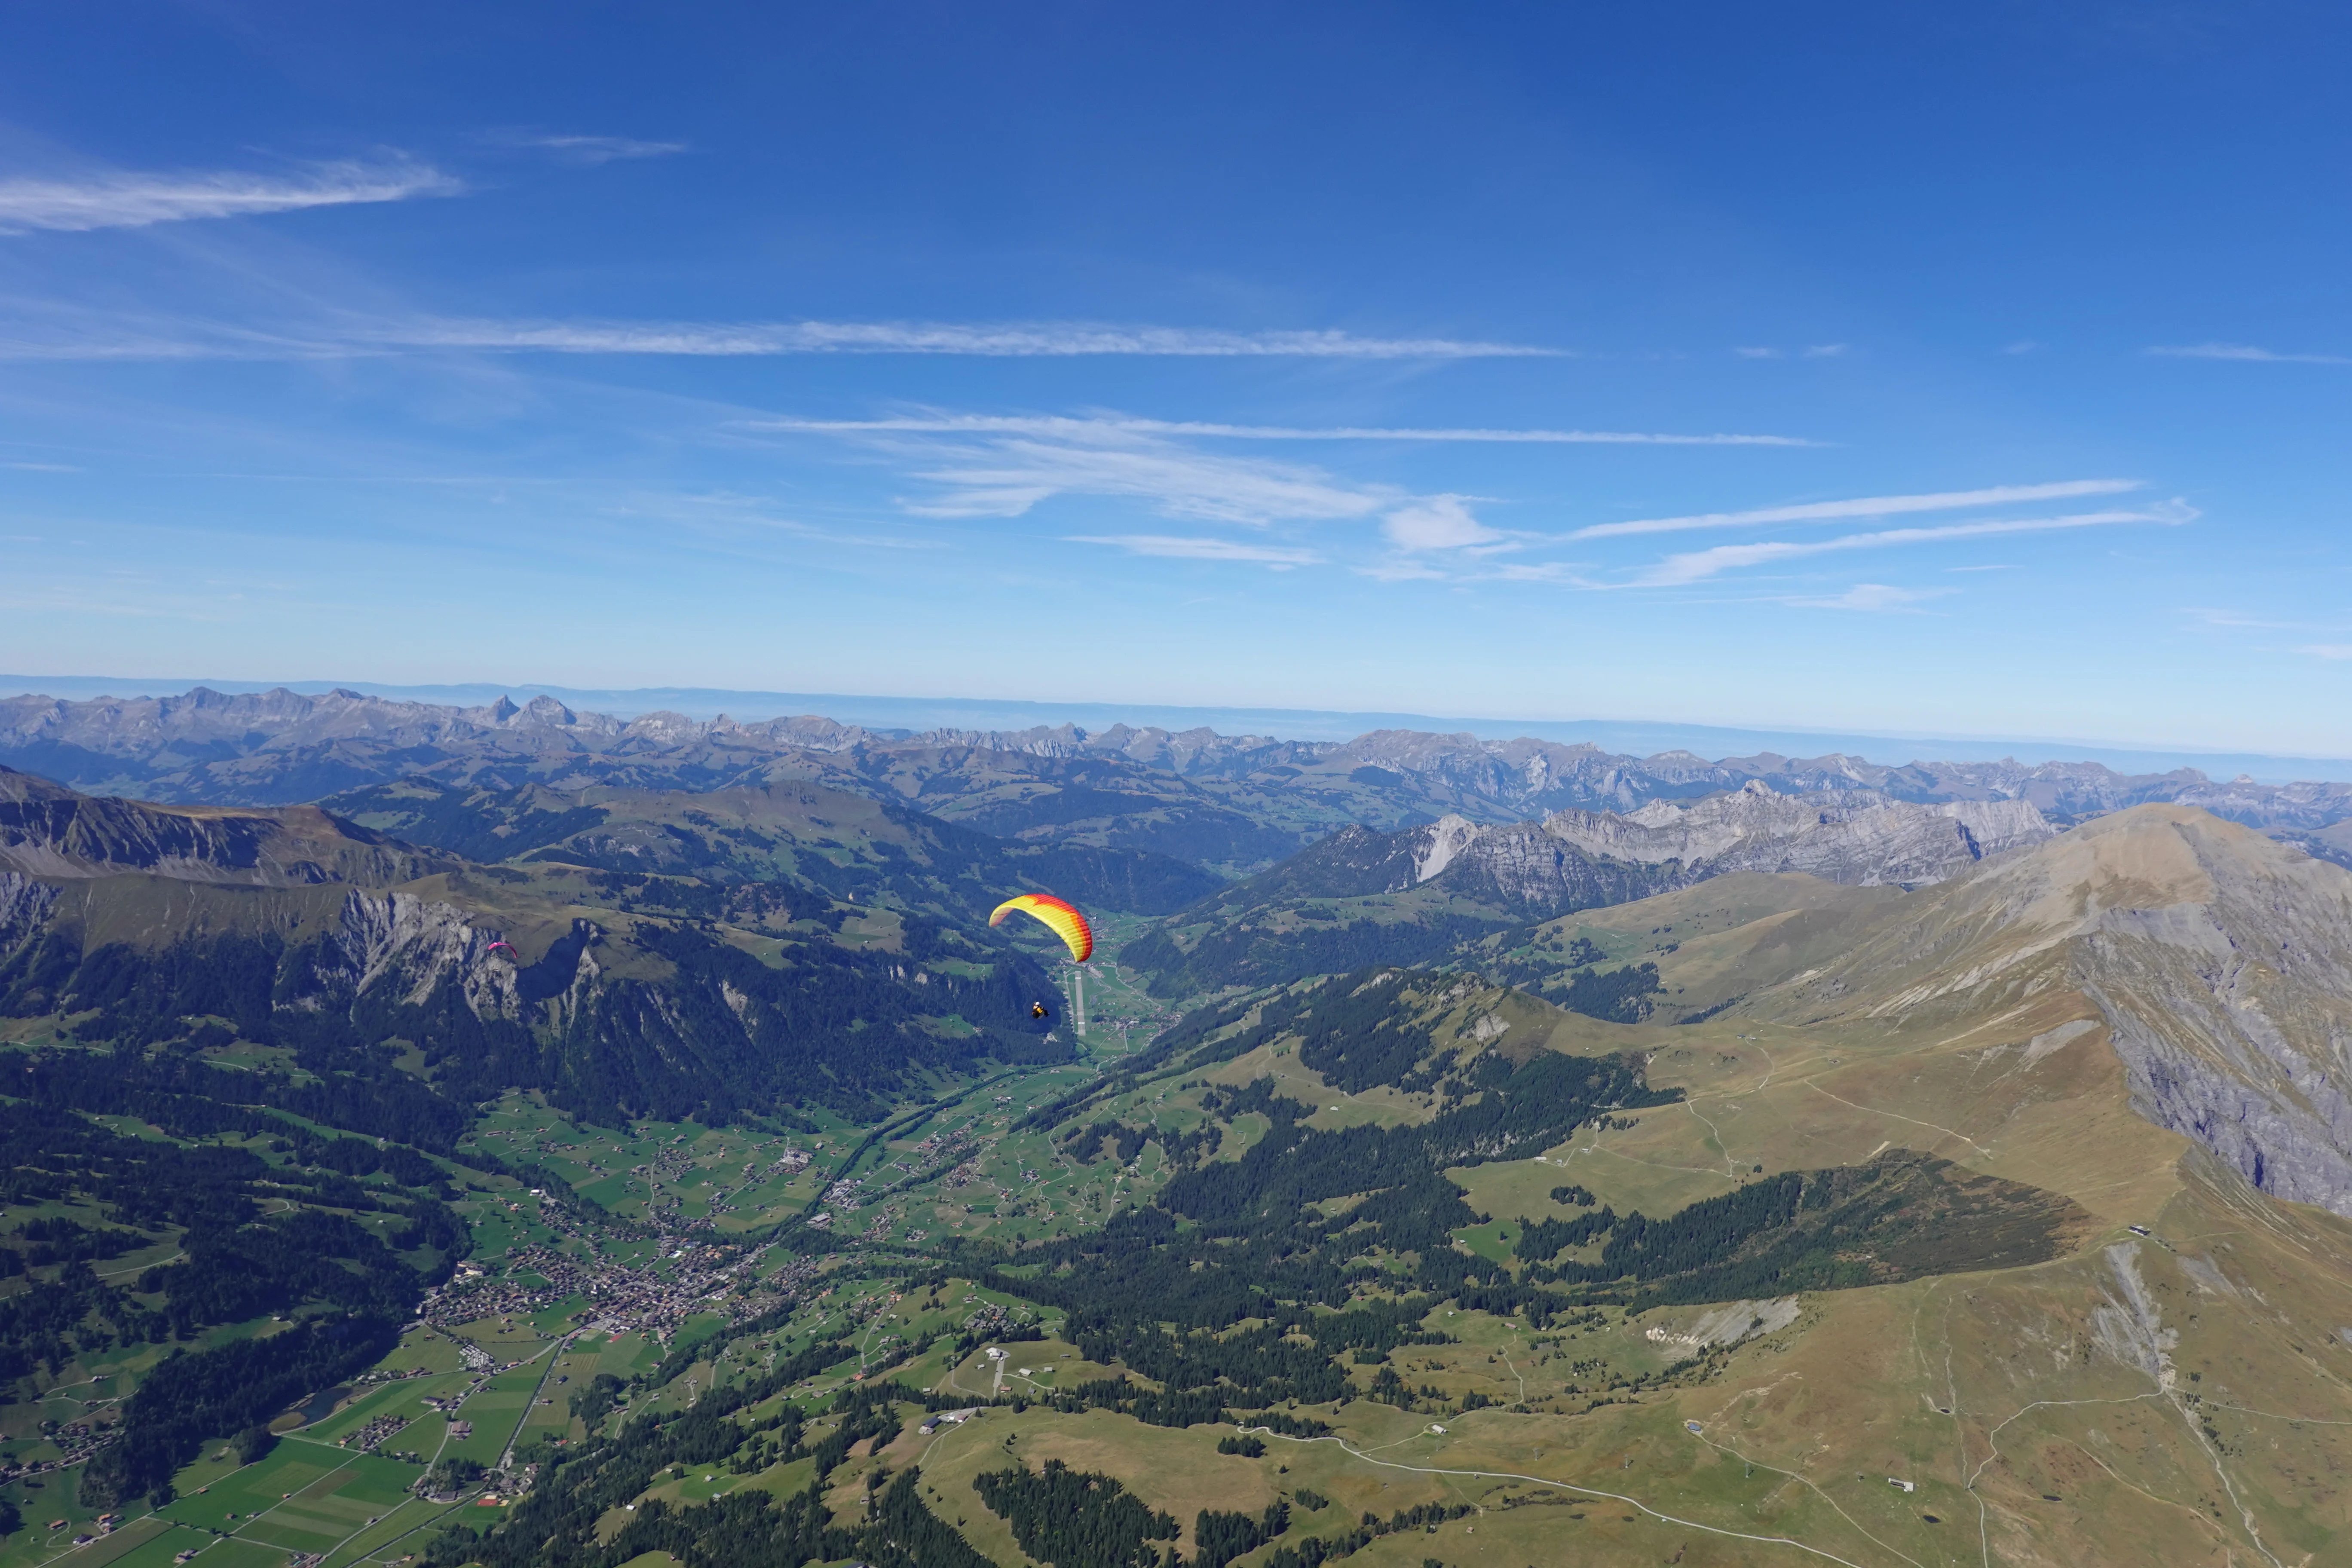
The sun is lower, the thermals stay good but are less strong than in high summer. The valley wind eases off with them. In the morning and in the evening the air is often completely calm. In calm air you get to know the pressure in the brakes. On a day with weaker thermals you learn to fly straight through one. On stable days with an inversion the edges of the thermals can be harsh. The calm hours are then in the morning and in the evening.
What “wobbly” means
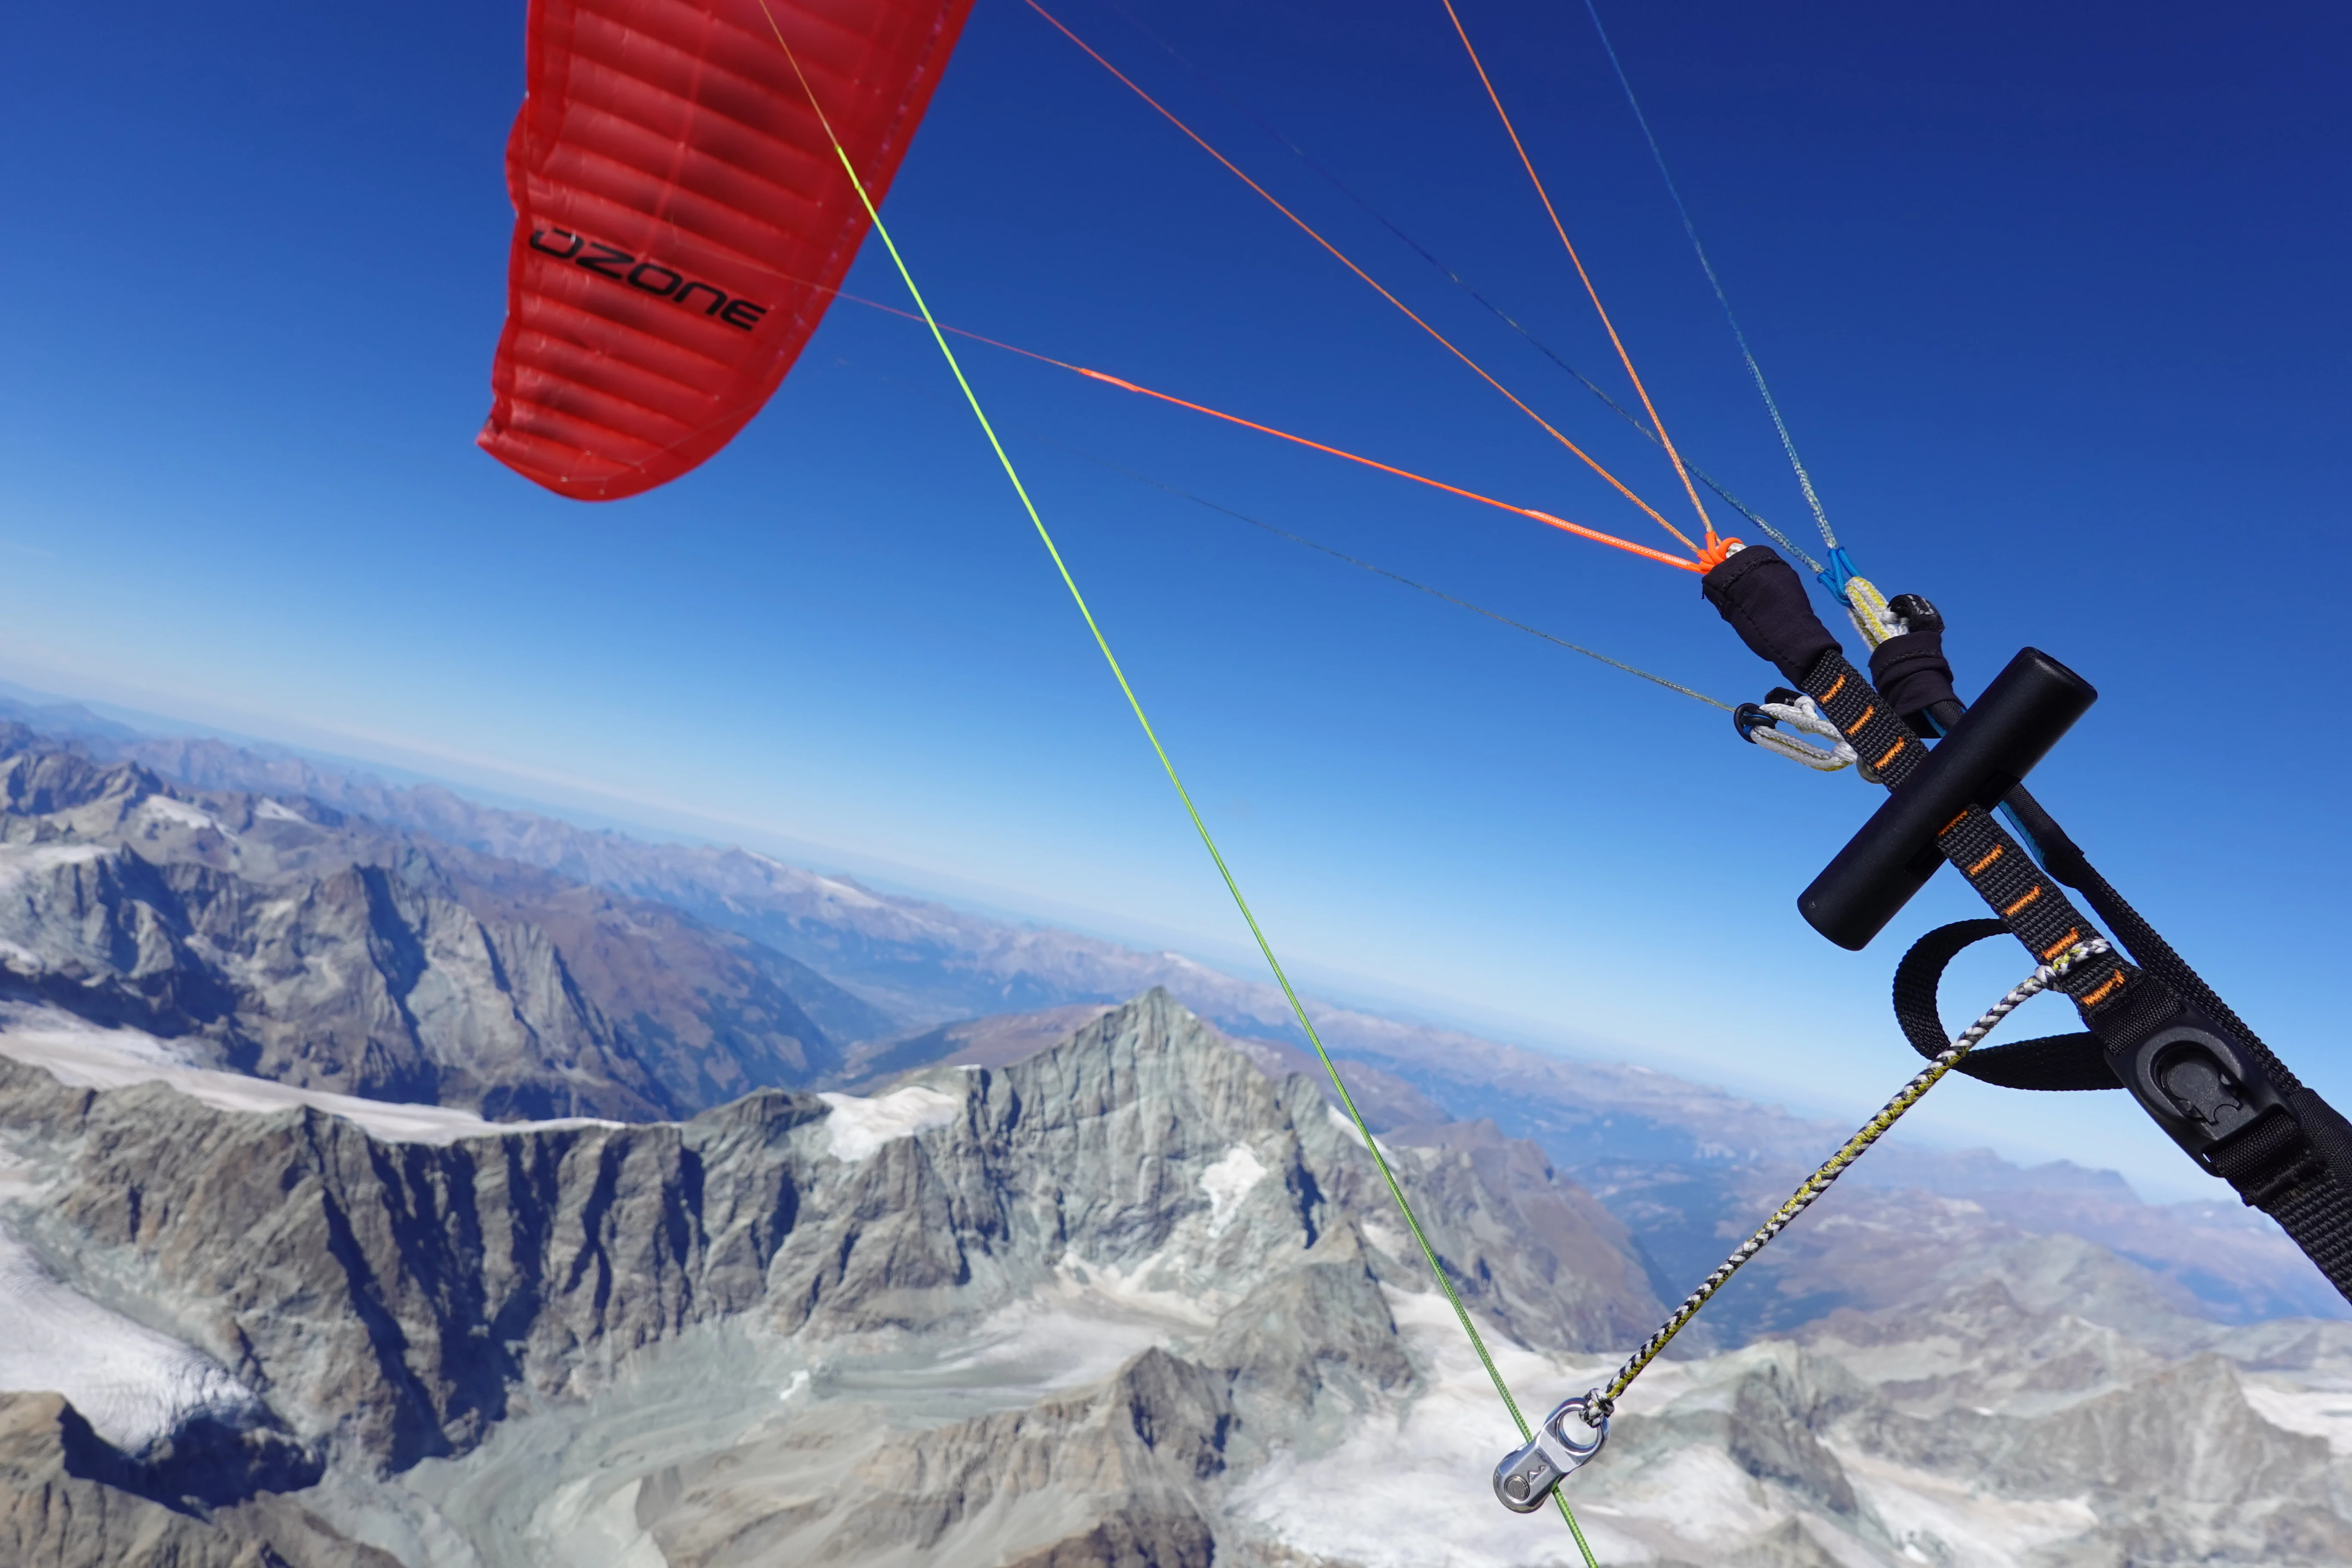
Wobbly is usually the feeling of information you can’t place yet. Your hands on the brake lines don’t have an answer to it yet and the wing moves in directions that feel wobbly.
For me, wobbly is simply information. You could also say: a communicative wing talks to you when it wobbles and wants the right answer, so that it knows what to do. Like a horse that needs commands, through the pressure of your legs or through the reins. Without you it does what it wants. And a wrong signal makes it do something else.
So first we look at everything a wing can do, so that you better understand the information it gives you. After that you learn the best way to answer it. A paraglider moves around three axes and everything you feel as wobbly is one of them or a mix.
Take a look
1 / 3
Which axis is the wing moving around?
Pitch. The wing goes forward or drops back. You feel it as speeding up or slowing down, like in a train that pulls away or brakes. This is where collapses happen.
Roll. One side rises, the other sinks. You feel it in the harness as a tilt to the side, like in a boat when a wave comes from the side.
Yaw. The wing turns above you around the vertical axis: one half of the wing runs ahead, the other stays behind. You feel it as a twist in the harness, like asymmetric pitch. The move for it: briefly brake the side that runs ahead.
If you can name the axis, you already know which move goes with it. “Somehow wobbly” becomes “the left side is rising right now”.
The wing may move, you stay smooth
Imagine riding a mountain bike over a trail full of roots. The bike jumps and kicks. A good rider still has a calm head and a calm upper body. Legs and arms work as suspension and swallow whatever the ground sends up.
That is exactly what active flying is. Kelly Farina calls it the Golden Rule in his book:
Regardless of how the wing moves, the pilot must make sure they glide through the air as smoothly and steadily as possible.
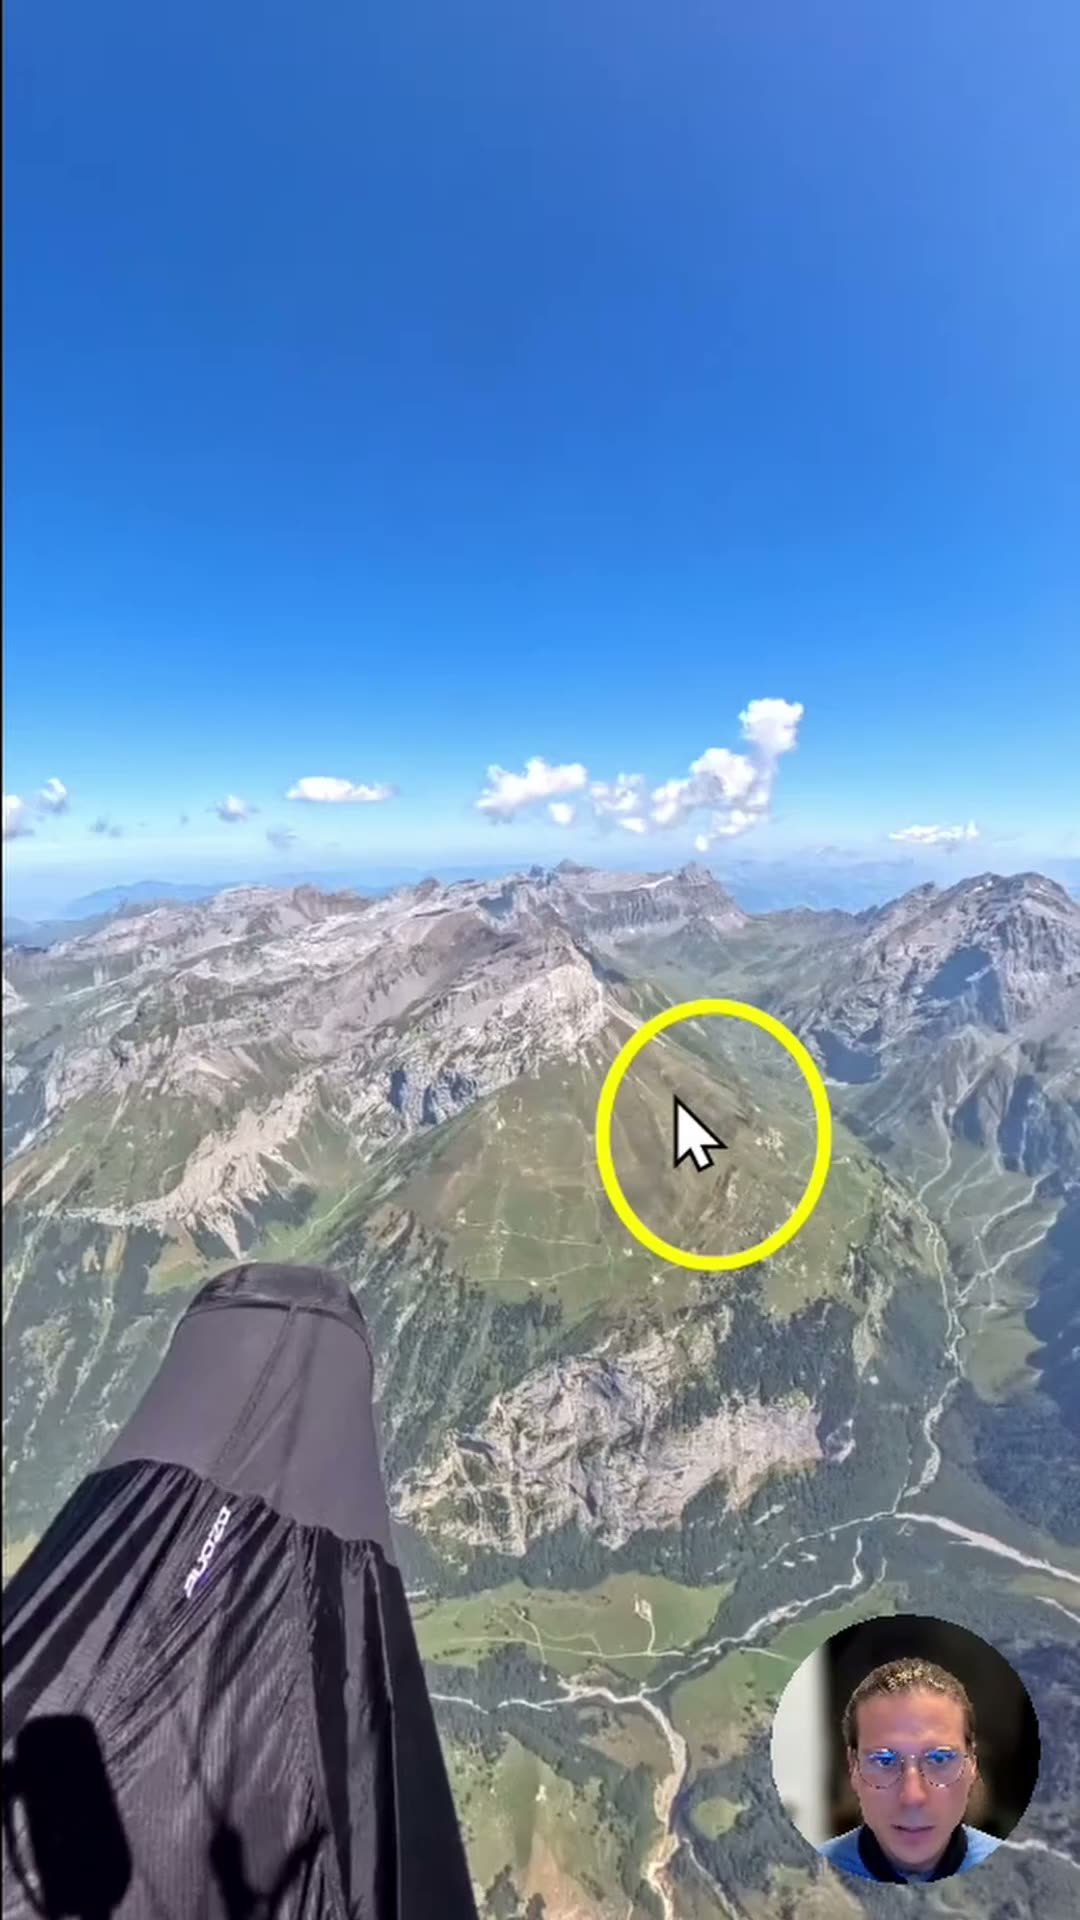
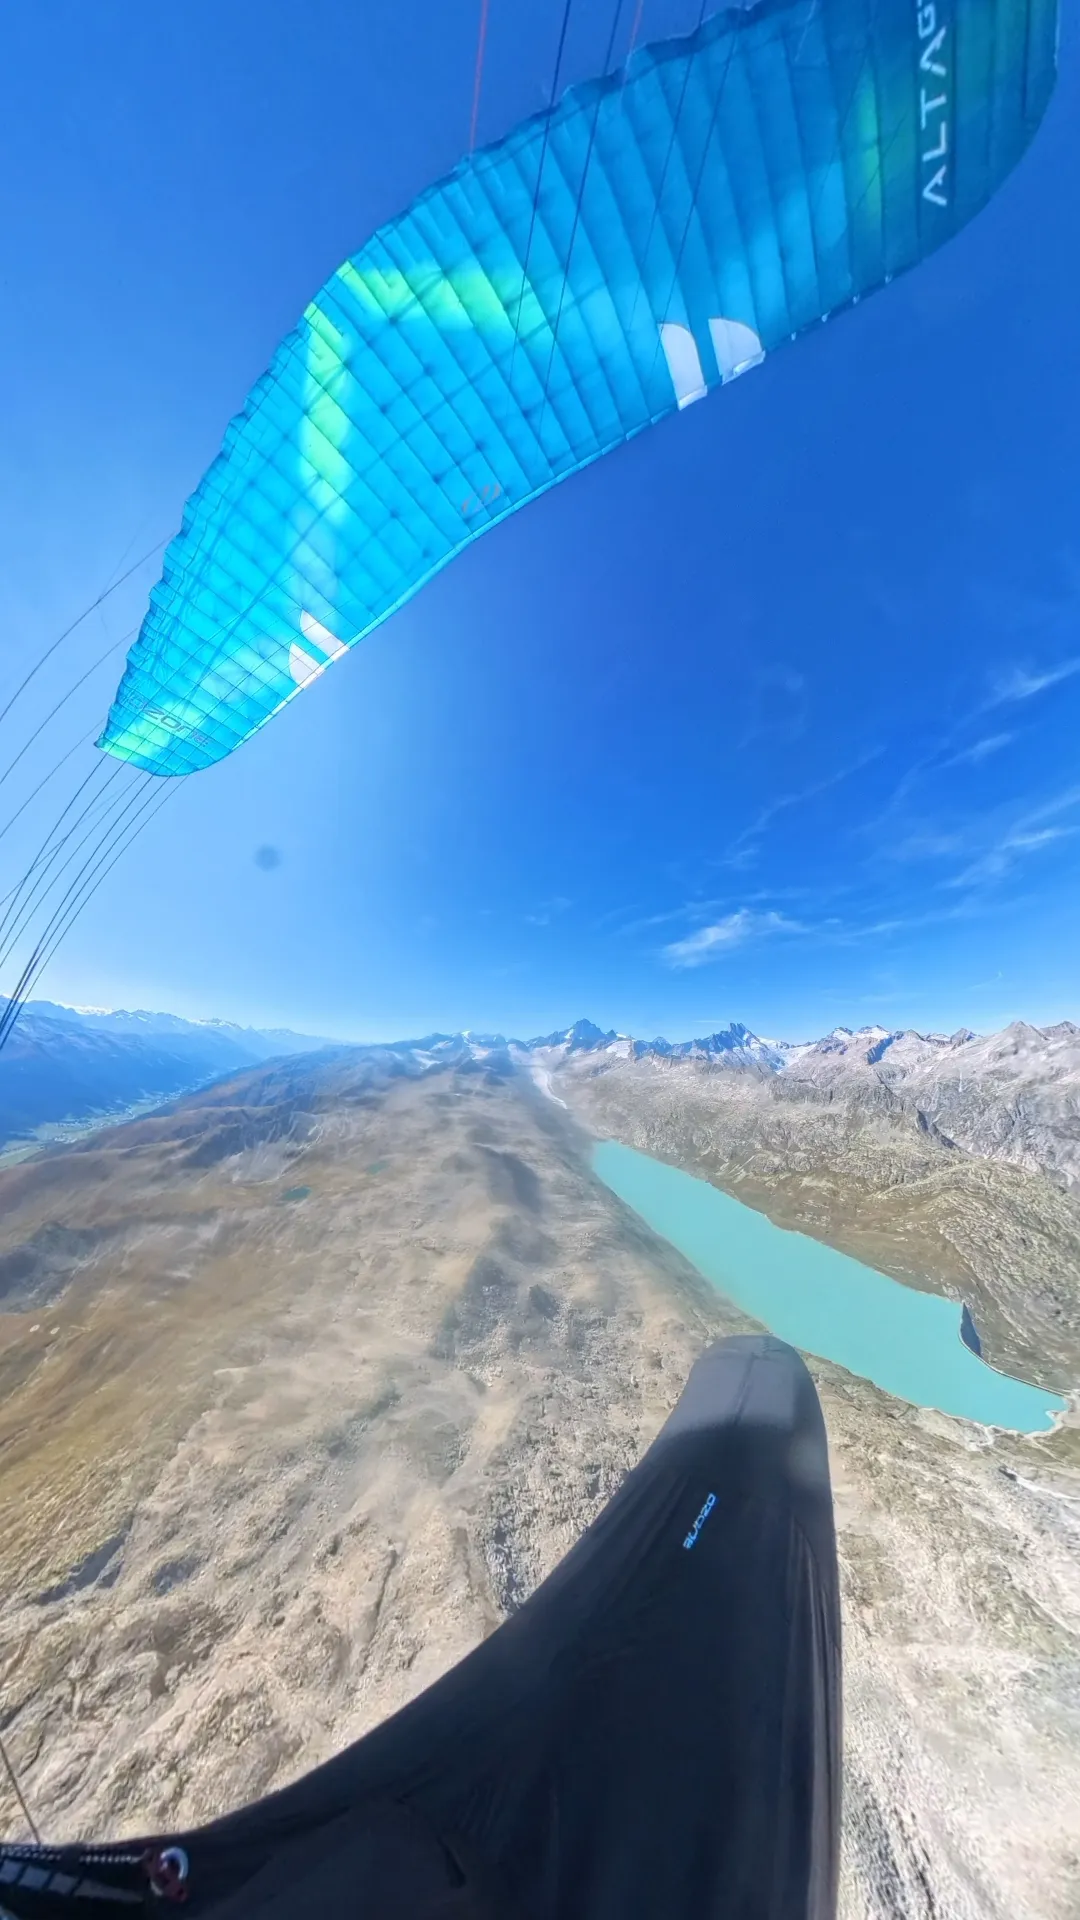
The wing may work up there. You, below it, are the suspension. There are pilots who, in the same thermal, climb higher than you circle after circle as if by magic. This is what it looks like from the cockpit:
What is needed here is an active flying style that suits the conditions. The timing has to be right and the length of the input matters just as much. If you stick to that, you lose less energy through sink and climb better in the thermal. Circling without pitching, swinging and yawing.
There is one more reason for this that goes beyond the feeling.
Every time you swing through under the wing, height turns into speed and that height is gone. And every time the wing shoots far forward, it comes closer to a collapse.
Canopy behind, canopy in front
The wing drops back behind you. Typical when entering a thermal: the rising air pushes the canopy back and the wing slows down. Now you release the brakes.
The wing shoots out in front of you. Typical when leaving the thermal or after a gust: the canopy runs away from you and the leading edge loses pressure. Now you brake, on both sides and decisively, until the wing is above you again. As soon as it is there, you ease off softly. If you hold too long or too deep, you slow it down at the back and it drops back. That is the way into a stall.
Canopy in front: brake. Canopy behind: brakes up. Both immediately, both released softly again.
That is how it can be summed up. And one more thing makes it easier: for this you look towards the horizon in the direction of flight. If the horizon sinks, the canopy is dropping back. If it rises, the canopy is shooting forward. This works all the better the more upright you sit in the harness.
The model shows the principle, not your wing.
Pressure instead of position
Before the wing visibly moves, the pressure in the brakes changes. If the canopy shoots forward, the pressure drops. If it drops back, the pressure rises.
That turns into one single task. You fly with the brakes slightly pulled and hold the pressure you feel there. If it drops away, you pull in until it is back. If it increases, you ease off until it is back. How far your hands travel doesn’t matter.
How much pull that is, I tell you as a feeling and deliberately without a number: enough pressure that you feel the connection to your wing. This pressure is your feel for your wing. Enough that you can also release and the canopy then reacts slightly forward. And only so deep that you fly at minimum sink. You need the same pressure in a thermal to climb best. How heavy it feels varies from wing to wing. There are firm wings and softer ones. That is why I leave out the kilograms.
Only as much as needed. When the air whispers, you whisper back. When it shouts, you shout back. You always look for the pressure point and keep it the same. With very gentle corrections your movements are very gentle. And to prevent a collapse it can, rarely, also mean that your hand goes down to your hip.
Where your arms are. In my view we have the most control with our elbows by our body, with a half wrap, so with the brake line wrapped halfway round the hand: clear, targeted movements along the risers instead of round and far out like doing the chicken dance. For that you need the small muscles, pulling instead of pushing: the brake comes from the fingers and the forearm, the shoulders stay down. The hand stays on the brake, away from the carabiner and the riser.
There is no right and wrong here. Many good comp and cross-country pilots I have got to know over the years say the same: there is no such thing as the technique, only the technique that works for you. There are top cross-country pilots who fly the most beautiful thermal circles with long arms, in the “toilet-chain grip”.
All wings can drop back in thermals. Higher-rated wings are more likely to bite forward when entering. And in accelerated flight all of this works differently: from about a quarter of speed bar onwards it goes through the rear risers instead of the brake. That is a topic of its own.
What you can practise now
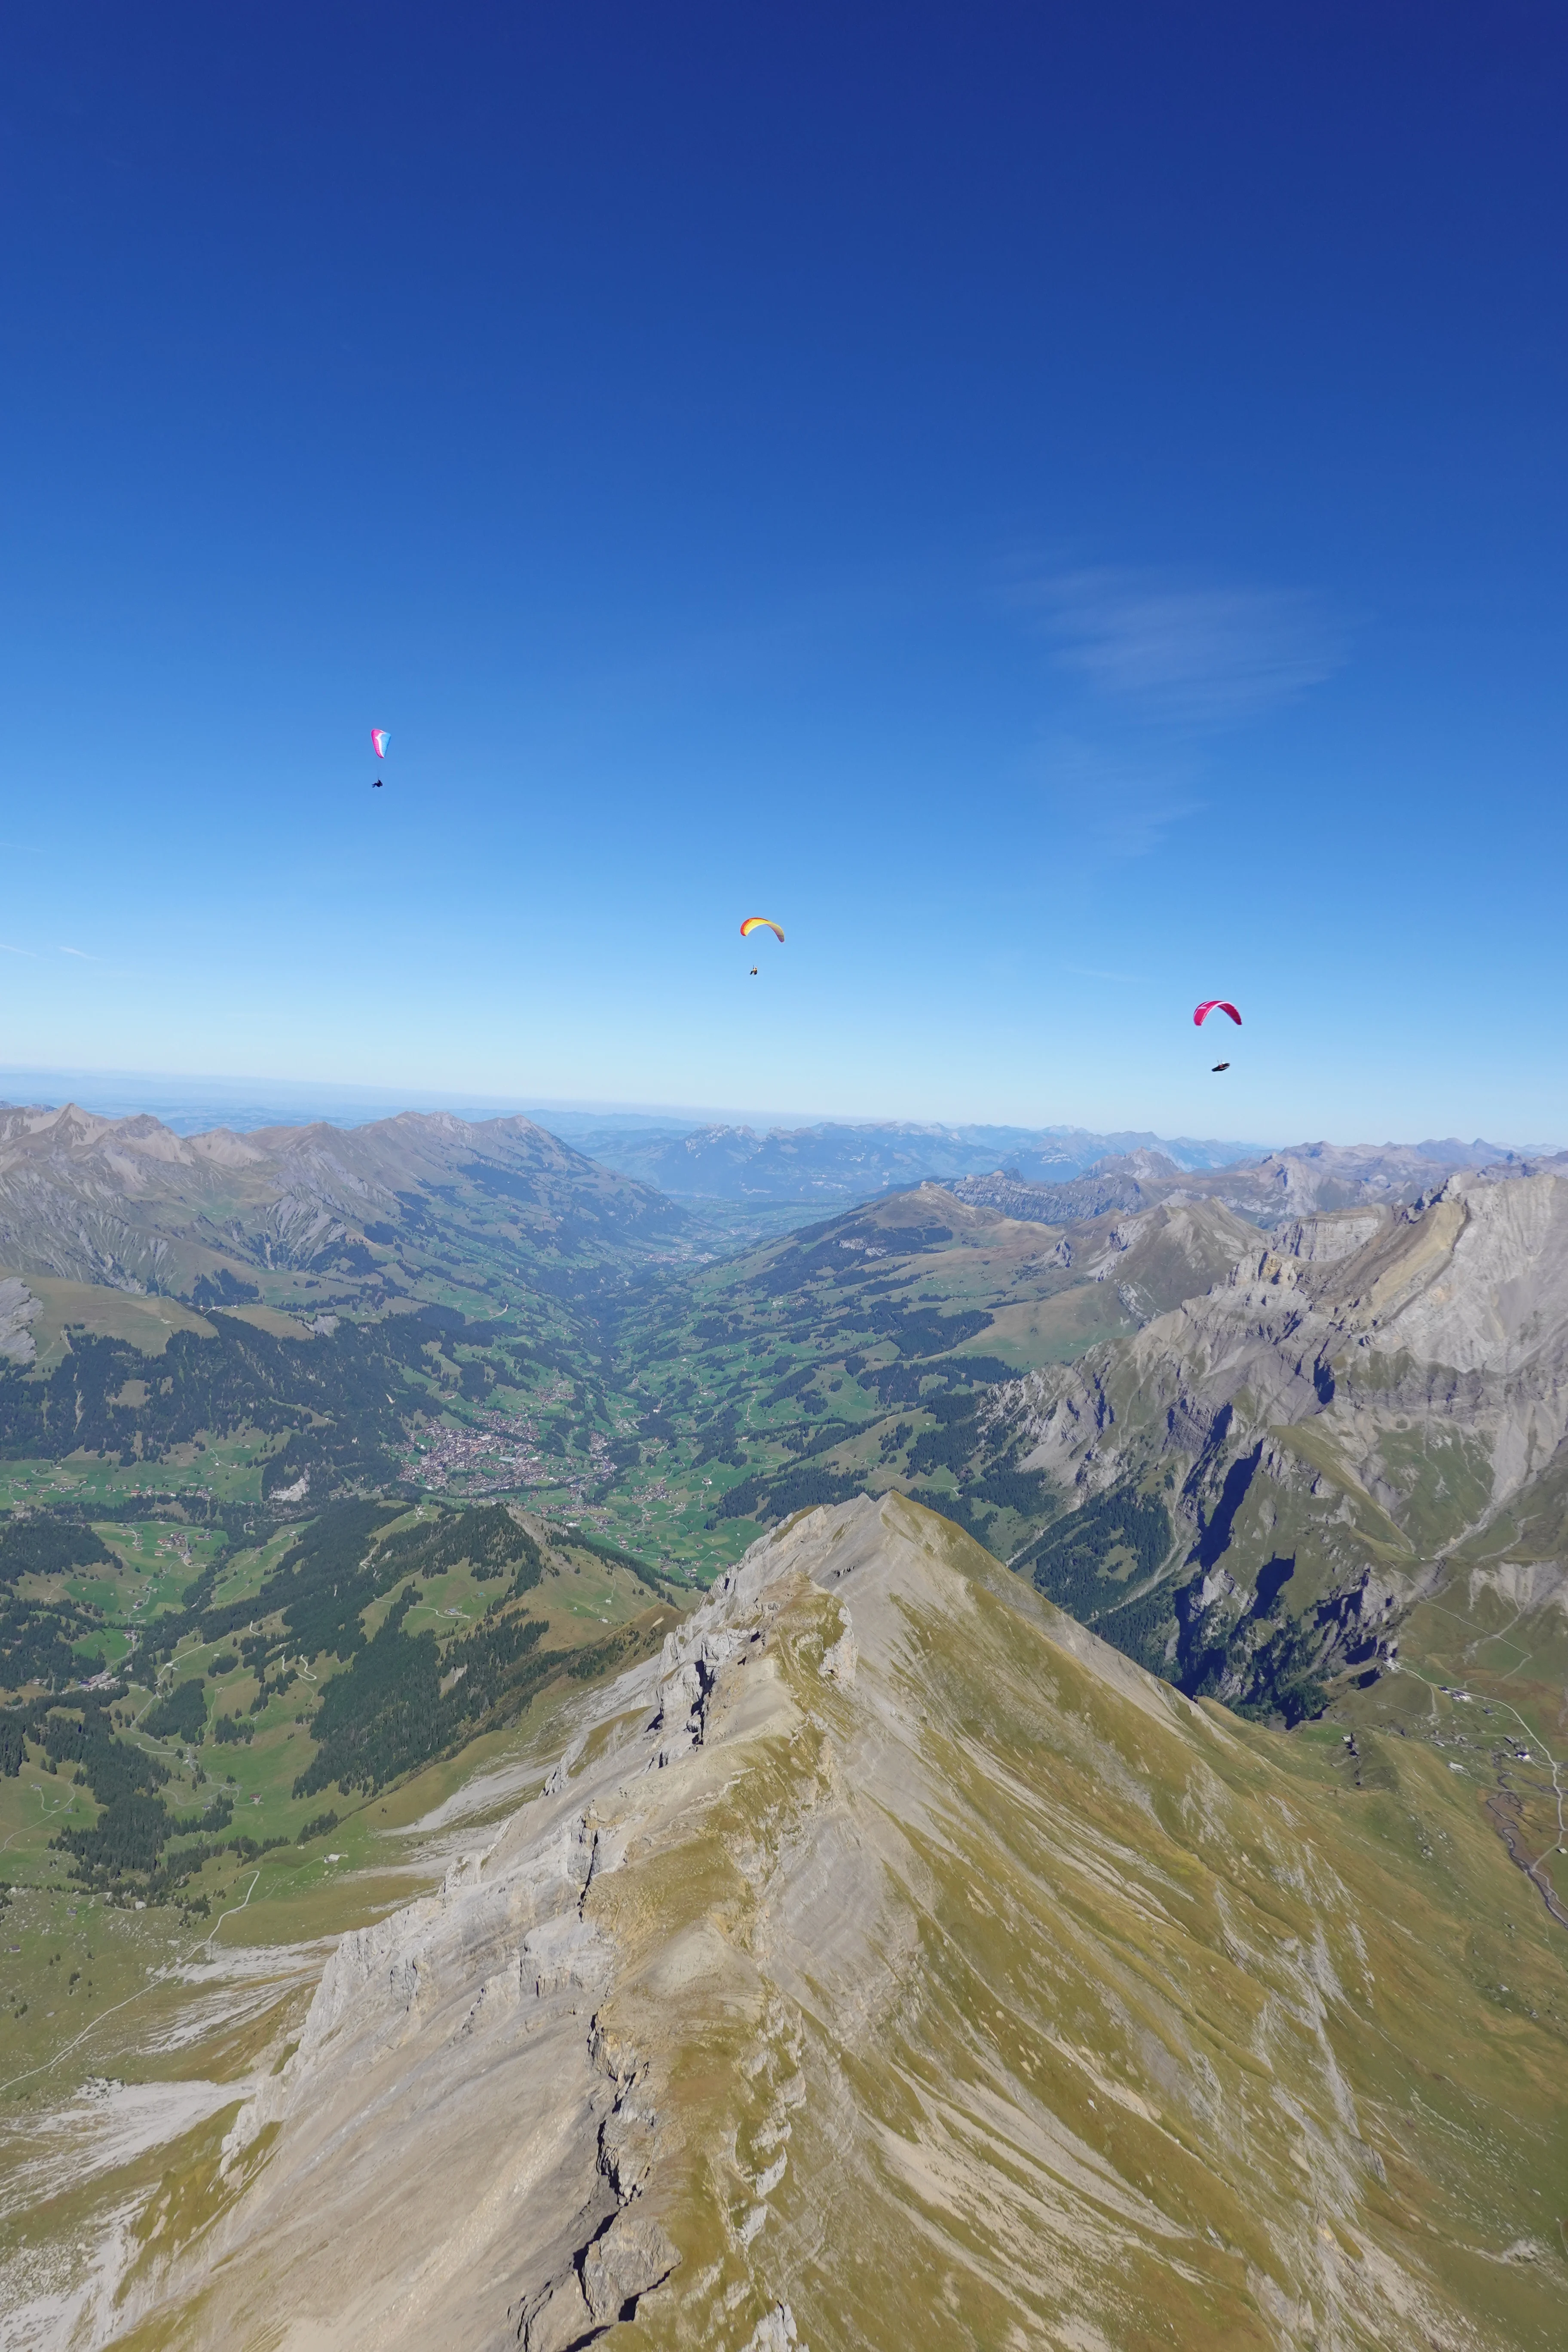
All the exercises are meant for calm to slightly bumpy air. Take one per flight.
Getting to know your own pressure. A calm flight in the morning or in the evening. Pull the brakes slightly until you feel the pressure. Then for five minutes do nothing but hold it, eyes on the horizon. That way you will recognise it again when the air moves.
Observing. In slightly bumpy air you react through the pressure as always. But your attention is on watching: what is the wing doing right now and what keeps it calm?
Straight through the thermal. On a day with pleasant thermals and with enough height, you deliberately fly straight through one. On entry the pressure rises: release. Inside, one side often rises: weight towards that side until the carabiners are level again. On exit the pressure drops: brake until the wing is above you, then ease off softly.
Staying loose. Every few minutes, three questions: are my shoulders up? Is my thumb hooked in the carabiner? Am I breathing? If you sit too stiffly, you feel the air rougher than it is. After landing, check how rough it felt before loosening up and how rough after.
On the ground: the school for your hands
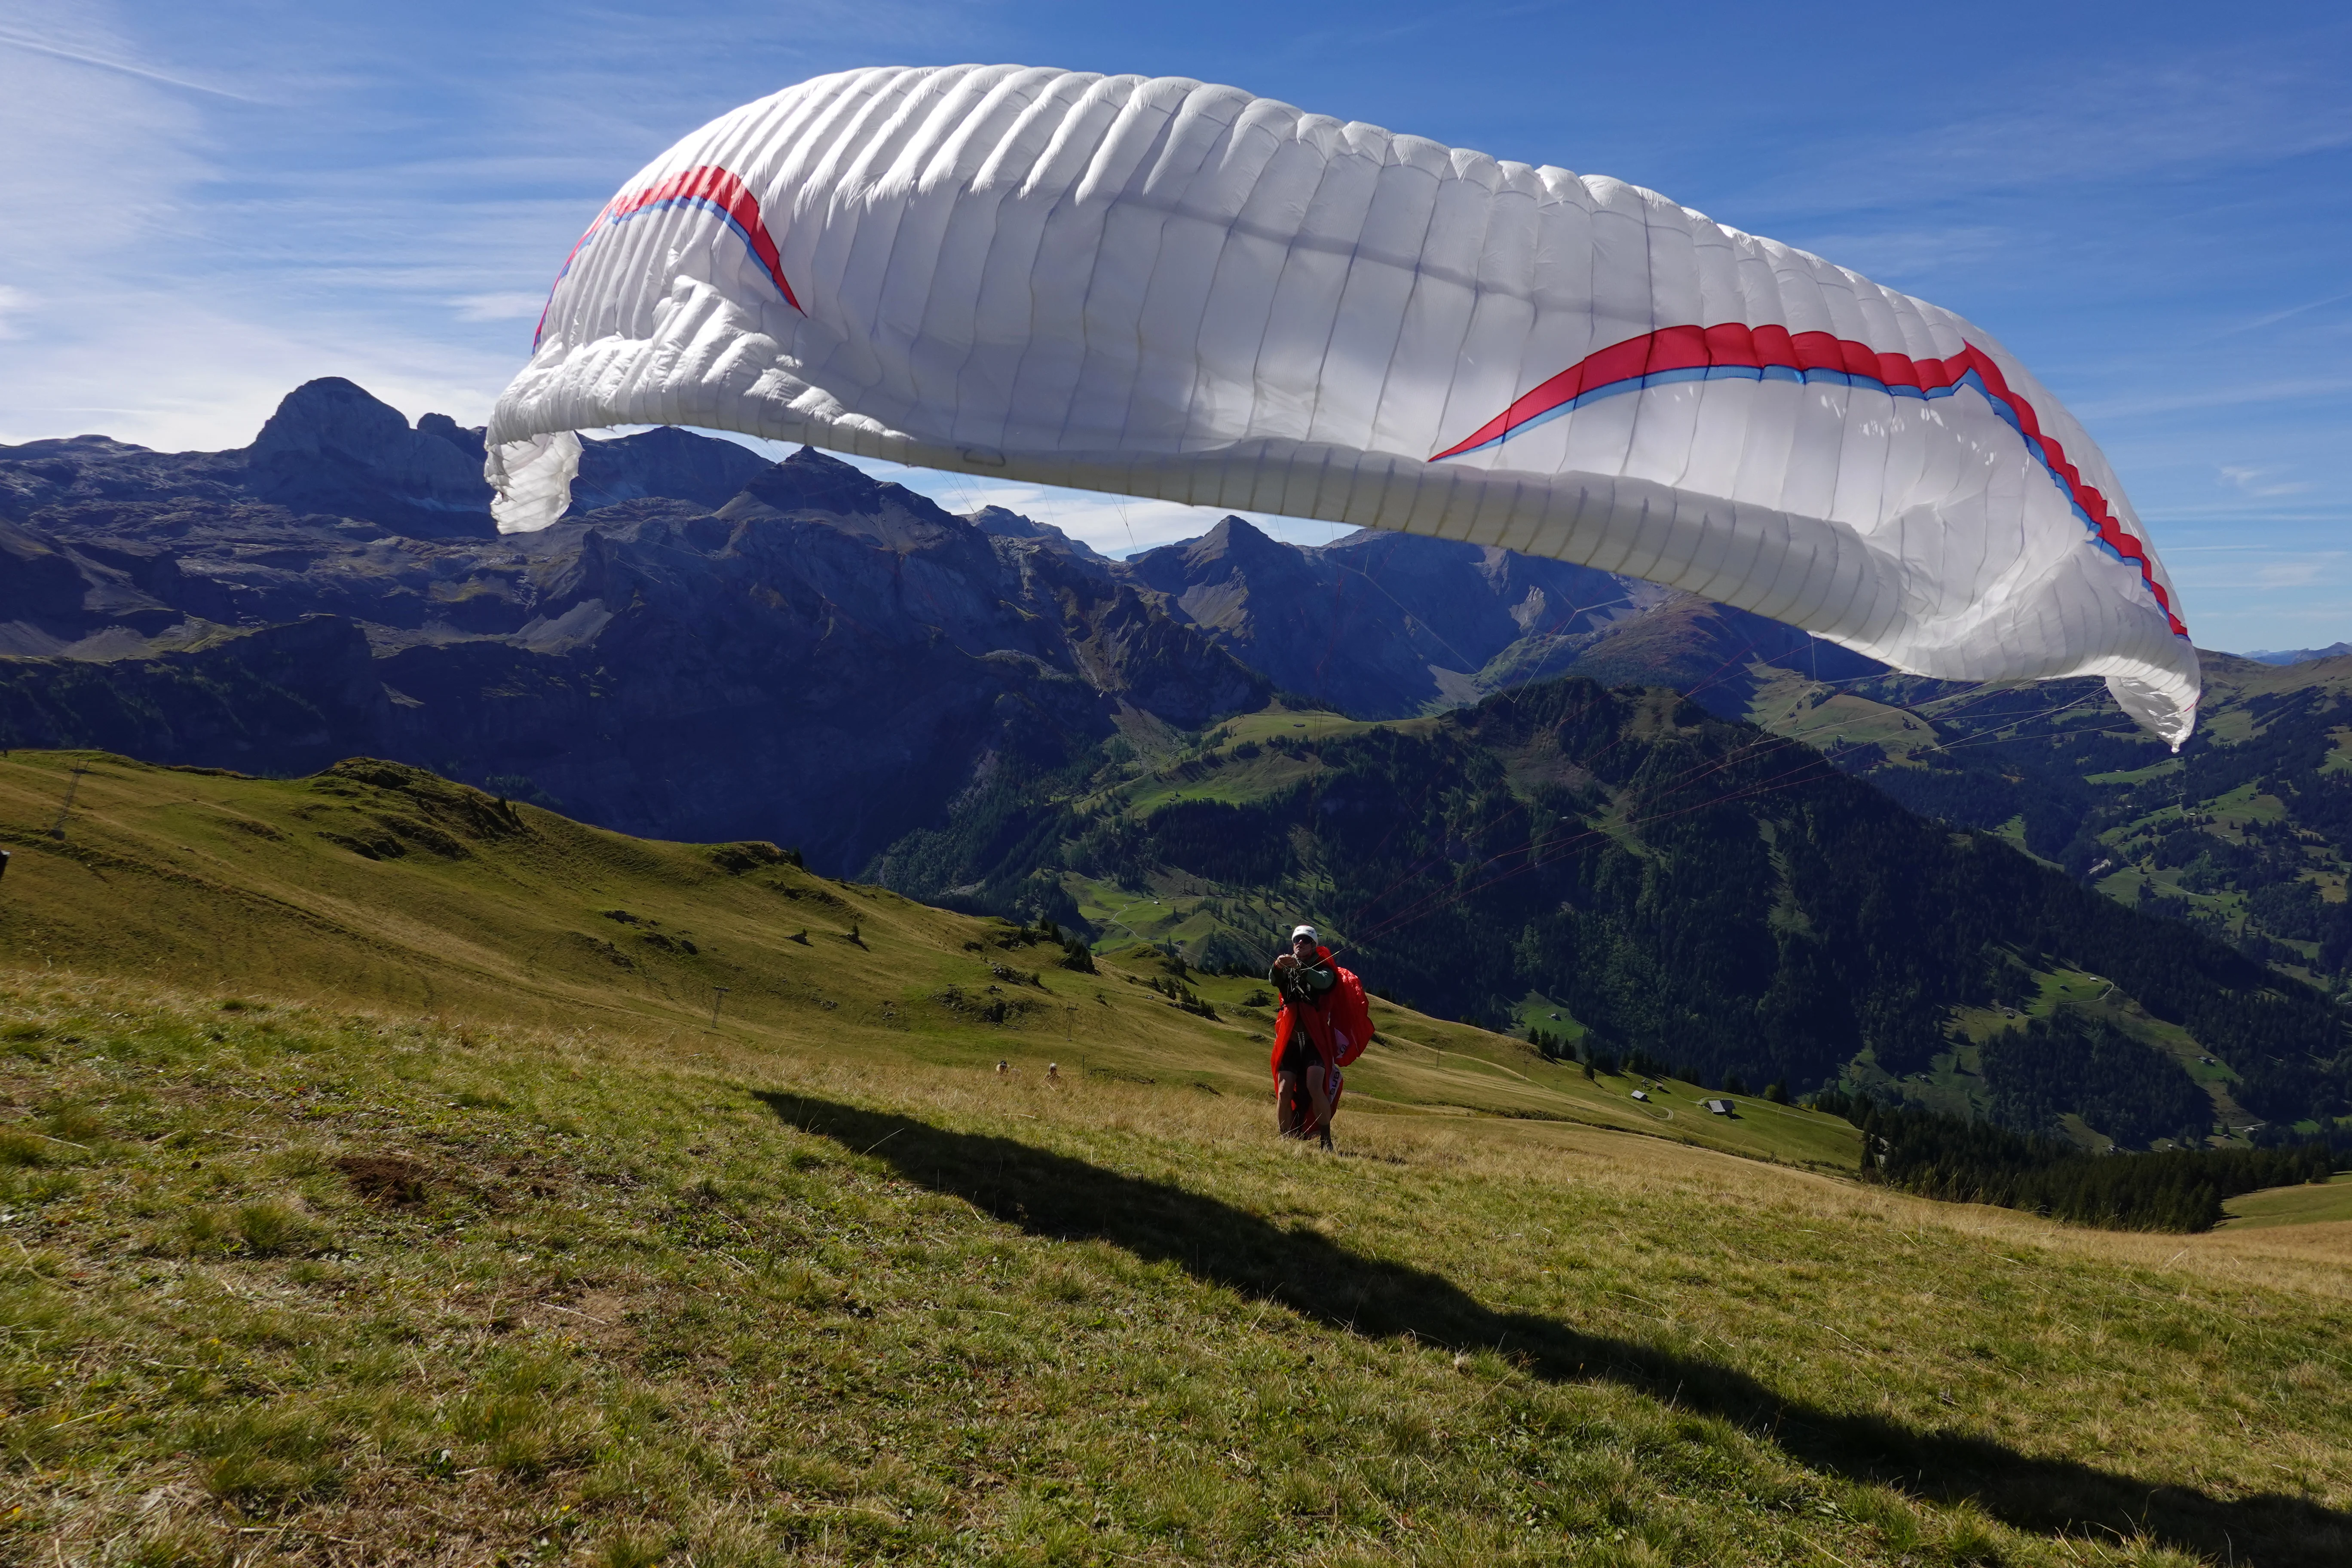
A DHV safety instructor summed it up like this after twelve years of safety training: the best pilots were always among the seasoned ground handlers. Anyone who plays skilfully with their wing on the ground never really makes a fool of themselves in manoeuvre training in the air.
On the ground you make exactly the movements that are called active flying in the air. Only here you practise a hundred times an hour what happens to you three times a flight in the air. And you are allowed to provoke things you would never provoke in the air: letting the wing shoot forward, going to the stall point.
The ground exercises carry on in winter too, when there are no flying days. Every stage has a sign that tells you it is solid. Only then comes the next one.
Before you unpack your wing
- Before you practise: be able to put the wing down from any position, with the brakes and with the rear risers. Before every stage you “kill” it once: pull both brakes all the way through quickly until it stalls. If that doesn’t work, wrap the brake lines round your hands and pull through.
- Wind: 10 to 15 km/h, steady. Almost all ground handling accidents are a pilot being plucked off the ground by a gust. In the DHV accident analysis 2024 it was five of six reported cases.
- Terrain: large and flat, behind you no fence, no ditch, no road.
- Equipment: your own wing, harness with back protector, helmet and gloves.
- Brakes uncrossed: for a reverse inflation crossed brakes are practical. Here it is about flying, so the left hand works the left half of the wing. Otherwise you learn a mapping on the ground that leads you astray in the air.
- If it lifts you: pull the rear risers hard, put the wing down, unclip. Braking lifts you up even further.
- Best with two of you. If a gust has you on the ground while you are clipped in, you need someone.
Stage 1 of 3
Holding
Facing the wing, brakes uncrossed in your hands, inflate, then let go of the A-risers. Looking at the wing is allowed at this stage.
Most corrections happen through your feet. If the canopy falls to the left, you turn slightly to the left and take one to three steps diagonally back to the left. The most common mistake here: walking towards the wing. Then the tension is gone from the lines and the wing no longer accepts any correction.
The brakes early and short. A steering input that lasts longer than a second chokes the wing.
How you know it is solid
You keep the wing above you for two minutes without having to run under it.
In the air this means: Brake early and briefly, before the movement gets big.
Stage 2 of 3
Holding blind
First facing the wing, your eyes going past the canopy to the horizon. Then turned round in flying position, back to the wing. Now you only have your hands and the harness.
The pressure eases: the wing comes forward, you brake more. The pressure rises: the wing goes back, you ease off.
The game to go with it: stay standing on one spot and even out every change in the wind with the brake alone. With two of you it becomes a competition: whoever takes the first step has lost.
How you know it is solid
One minute in flying position without looking. And afterwards you can say what the wing did during that minute.
In the air this means: Active flying in straight flight, eyes on the horizon. The same as in the model above.
Stage 3 of 3
The stall point and the surge
Finding the stall point: you slowly pull both brakes deeper until the pressure goes soft and the canopy wants to fall back. Both hands up at once. Ten times. That is how you learn how the stall announces itself on your wing.
Letting it surge and catching it: bring the wing briefly to the stall point, let it fall back a little, then release both brakes quickly. It surges forward. You catch it, on both sides, deep and decisively, then you let off softly straight away.
First looking at the canopy, until the sequence is solid. Then looking at the horizon, finally blind in flying position.
How you know it is solid
Ten surges in a row without a collapse and without it falling back, five of them without looking.
In the air this means: Entering and leaving a thermal, as in the model above: canopy behind, brakes released. Canopy in front, brake and release softly.
Landing is part of it
Landing is never a mistake. If you feel unsure while practising, you fly to the landing field. What is written here does not replace an SIV course.
If it collapses anyway, you react to what the wing does, not to the collapse. If the wing neither pitches forward nor turns, you do nothing with the brakes. If it starts to turn, you brake on the open side as much as the turn demands. You put your weight towards the open side. Too much opposite brake pulls the open side into a stall. How that works when it really counts, you practise on an SIV course over water, not here.
When I am practising, I go and land straight away in three cases:
- A collapse despite active flying. Then the day or the place is too wild for today.
- The tension stays, even after loosening up. Then my head is no longer free for the craft.
- The valley wind is above 15 km/h and I am in the lee.Then it is no longer a place to practise.
To take with you
Answer in your head first, then turn the card over.
Your turn
Your next flight
Which exercise will you take with you?
How much control do you feel in rough air today?
Write the number down with the date. After a few practice flights, ask yourself the same question again and see whether it has moved.
The next article is about thermals. What would matter more to you?
Write and tell me how it went. With the button, your answers from this page are already in the email.
Email info@streckenfliegen.com
Nothing is saved here. Your answers stay in your browser until you send the email yourself. I read every email.
Where the knowledge comes from
The technique comes from two sources I consider the best on the subject: the book “Mastering Paragliding” by Kelly Farina (in English) and the technical paper “Active Flying in Paragliding” by Karl Slezak, for many years safety officer at the German Hang Gliding Association (DHV). From Farina come the Golden Rule, yaw as asymmetric pitch, “pull, don’t push”, the image of the air whispering and shouting and the idea that stiffness makes the air rougher. From Slezak come the brake pressure model, looking to the horizon and the principle “Canopy in front: brake. Canopy behind: brakes up. Both immediately, both released softly again”, here in my words. The selection, the images and the exercises for autumn are mine.
The ground exercises come from the article “Groundhandling” by Karl Slezak (DHV-Info 144) and from “Groundhandling Basics” by Peter Cröniger (DHV-Info 179). Plus the standing-still game from thermiksucher.de and “Catch the Pitch” by Greg Hamerton. The accident figure comes from the DHV accident analysis 2024. What is mine: the selection, the order and the signs that tell you a stage is solid.